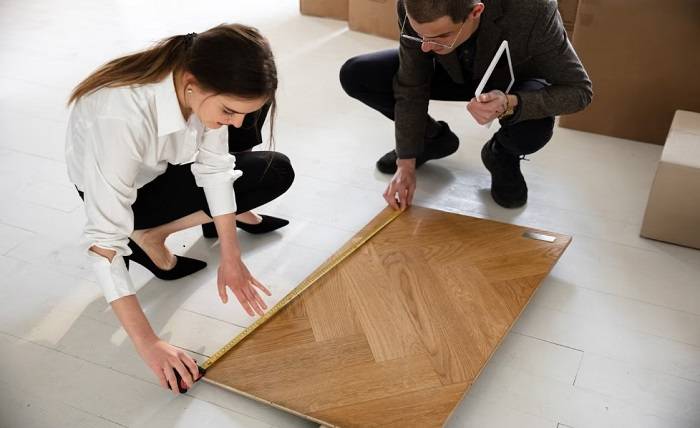
Tiling is a skill that can get you a decent earning in different parts of the world. This article is designed for anybody who just started his tiling career.
In this blog post, I show you a comprehensive guide on how to install floor tiles, the most recommended way.
When it comes to giving your space a fresh, appealing look, installing floor tiles can be a fantastic option. Whether you’re aiming to renovate your kitchen, bathroom, or any other room, tiling can transform the aesthetic and functionality of the area.
If you’re ready to take on a DIY tiling project, here’s a step-by-step guide to help you install floor tiles like a pro:
What materials and tools will you need?
- Floor tiles of your choice
- Tile adhesive
- Notched trowel
- Tile spacers
- Tile cutter or wet saw
- Level
- Rubber mallet
- Grout
- Grout float
- Sponge
- Clean water
- Sealer (optional)
- Protective gear (gloves, safety glasses)
Preparing the Surface
Ensure that the surface you’re tiling is clean, dry, and level. Remove any existing flooring and fill in cracks or imperfections. A smooth surface will ensure that your tiles adhere properly and create a professional finish.
Planning the Layout
Before you start placing tiles, plan out the layout. Start from the center of the room and work your way outwards. Measure and mark guidelines using a chalk line, creating a grid to guide your tile placement.
Applying Tile Adhesive
Using a notched trowel, spread a layer of tile adhesive onto a small section of the floor. Hold the trowel at a 45-degree angle to create ridges in the adhesive. This will help tiles adhere securely.
Time to Place the Tiles
Carefully press each tile into the adhesive, following the guidelines you marked earlier. Insert tile spacers between tiles to ensure even spacing and straight lines. Gently tap the tiles with a rubber mallet to ensure they’re level and properly set.
Cut Tiles to fit corners
As you reach the edges and corners of the room, you’ll likely need to cut tiles to fit. Use a tile cutter or wet saw to make precise cuts. Remember to wear protective gear while cutting tiles.
Applying your Grout
Once the adhesive has dried and the tiles are firmly in place, it’s time to apply grout. Mix the grout according to the manufacturer’s instructions. Using a grout float, spread the grout diagonally across the tiles, pressing it into the gaps. Remove excess grout with the float.
Clean Excess Grout
After about 20-30 minutes, when the grout has started to set but isn’t fully dry, use a damp sponge to gently wipe away excess grout from the tiles’ surface. Rinse the sponge frequently and avoid using too much water.
Let the Grout Cure
Allow the grout to cure for the time recommended by the manufacturer. Once it’s fully cured, you can buff away any remaining haze on the tiles with a clean, dry cloth.
Apply Sealer (Optional)
If your tiles require it, apply a sealer to protect them from stains and water damage. Follow the sealer manufacturer’s instructions for application and drying time.
With these steps, you can achieve a stunning tile installation that enhances the beauty and functionality of your space. Remember, patience and attention to detail are key to achieving professional-looking results. Happy tiling!
